Want to stun your landscape photography? You may be looking for fog photography technology.
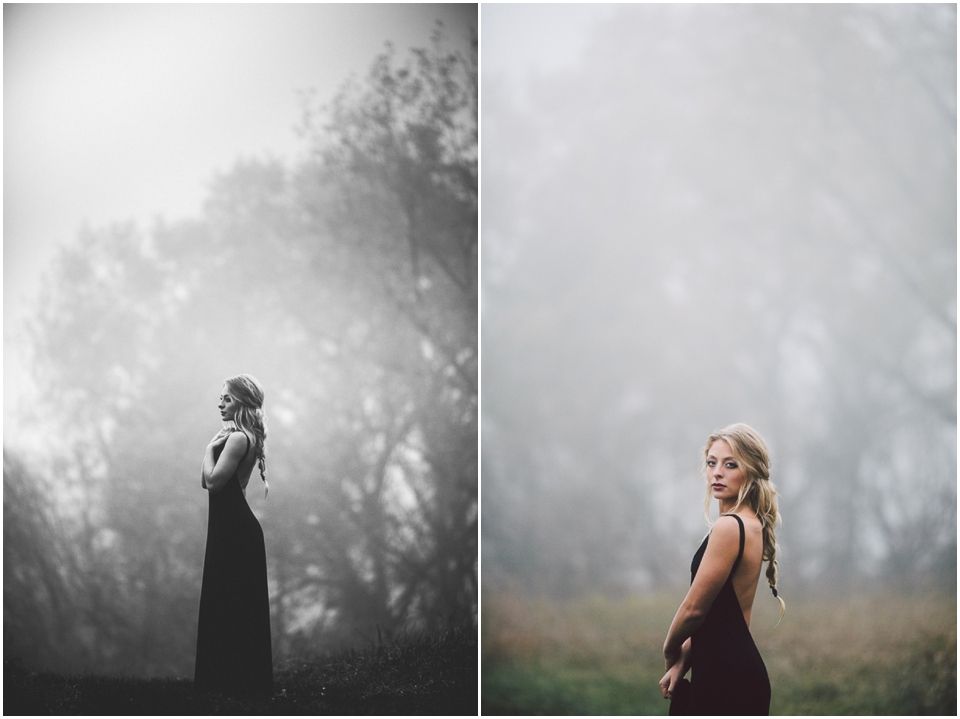
Nothing like fog can give a picture a mysterious or ethereal texture. It can soften the light, give people a dreamy, picturesque look and cover up all the rubbish in the scene.
Fog can create a ghostly atmosphere or a heavenly complexion in a dark forest when the sun is shining. Join us and we’ll talk about you through ten practical tips to improve your fogging effect.
1. Know when it’s foggy
I’m not a meteorologist, but I usually have a good idea when I should be exposed to fog in a familiar place.
Humidity must be considered first. Temperatures above 90% are of interest to me, especially when the temperature reaches dew point.
Very low clouds emit dense fog. Usually very light winds are needed to create fog, but I also experienced fog in mountainous areas with strong winds. This type of fog actually lets the cloud move, which can be very demanding.
2. Get up early to shoot the fog
It usually blurs early in the morning when the sun is not full of sunlight. This means you need to shoot the scene before or before sunrise.
This is also the case when the wind volume is usually the smallest and leaves a higher probability of fog. Most people think they live in a very foggy place because they have never been foggy, but most of the time they haven’t seen it fast enough.
Fog is best when the night temperature drops below the dew point and the humidity is over 90%. The best way to predict fog is to know the area very well – some spots are more sensitive to fog than others.
3. Use manual focus
Fog is a carpet of small droplets of water that scatter light and add a gray layer to the color / contrast. Therefore, when shooting in fog, there are usually no rough highlights or dark shadows: except in direct sunlight.
Saturation is also low, giving a soft gray color. Sometimes the contrast is so low that autofocus can’t be used, it’s time to switch to autofocus.
In this case, it is always best to use manual focus, because even if the autofocus is locked to something, it may go wrong.
4. Use a smaller aperture
As you can imagine, the depth of field decreases significantly in foggy conditions. This means that the thicker the fog, the fewer points that try to focus the entire focus.
Fog not only obscures the field of view: when objects are far away, the outlines and colors become blurred.
This means that the forest can get a lot of fog, especially during periods when the trees have leaves. If you want to capture a high-depth scene on the screen, you may still need to select a smaller aperture, especially when using a wide-angle lens.
5. Select the correct focus distance
Because the zoom lens compresses the scene and the wide-angle lens makes things farther away, it can be difficult to choose the right lens for fogging.
The zoom lens can compress fog (makes it thicker). So if you use a zoom lens to shoot dense fog, you can shoot where the subject is difficult to detect.
However, a lens at a wide angle or at a normal angle appears to absorb the mist (making it less dense). If you’ve ever tried to create blurry scenes with your phone, you know that this focal length causes the fog to subside, which isn’t always what you want.
This means that it is recommended to use a shorter lens in case of fog: this keeps the subject visible. If the fog is very weak and you want to emphasize the atmosphere, select a zoom lens.
Author Bio:
This is Julia James from United States of America. I am a senior journalist and blogger. I have completed my education from University of Cambridge in journalism as well as I have done many short courses of photography. I love taking photographs and I have worked with Italy Wedding Photographer and It was a memorable moment of my life.